Installation of auxiliary battery for Camper Vans
What is an Auxiliary Battery?
An auxiliary battery is an additional battery installed in a van. It supplies power to devices and accessories inside the van when the engine is off. These devices can include lights, refrigerators, heating systems, fans, electronic device chargers, and more.
This ensures that the engine's battery doesn't discharge while the vehicle is stationary, always keeping it ready to start the vehicle regardless of our electrical consumption when parked. The primary and safest method to charge the auxiliary battery is from the engine when the vehicle is running.
However, we can also use alternative charging systems that provide us autonomy, such as solar panels or a 230V electrical connection at a network point.
Essentially, after the bed, it is the main accessory and heart of a camper vehicle.
Why Install an Auxiliary Battery in a Camper?
Installing an auxiliary battery in your van is essential to sustain all the comforts and convenience when stationary.
It will power lights, refrigerators, water pumps, stationary heating management, charging of mobiles and electronic devices, etc., all without draining the engine's battery and ensuring that you can start at any time.
Without an auxiliary battery, we couldn't operate these devices without risking not being able to start when we decide to move.
What Types of Auxiliary Batteries Are There?
In the current market, you will mainly find four types of auxiliary batteries for your camper van:
Acid Batteries: These are commonly used to start a vehicle. They are the most economical option but are now becoming obsolete for campers due to their short lifespan and fragility during deep discharges.
AGM Batteries (Absorbed Glass Mat): These are the most common until now for camper use. They utilize absorbent fiberglass technology that contains the electrolyte, making them safer and less prone to leaks. They are resistant to vibrations and to charge and discharge cycles.
Gel Batteries: These batteries use silica gel to immobilize the electrolyte, making them extremely safe. They require no maintenance and are resistant to extreme temperatures and vibrations.
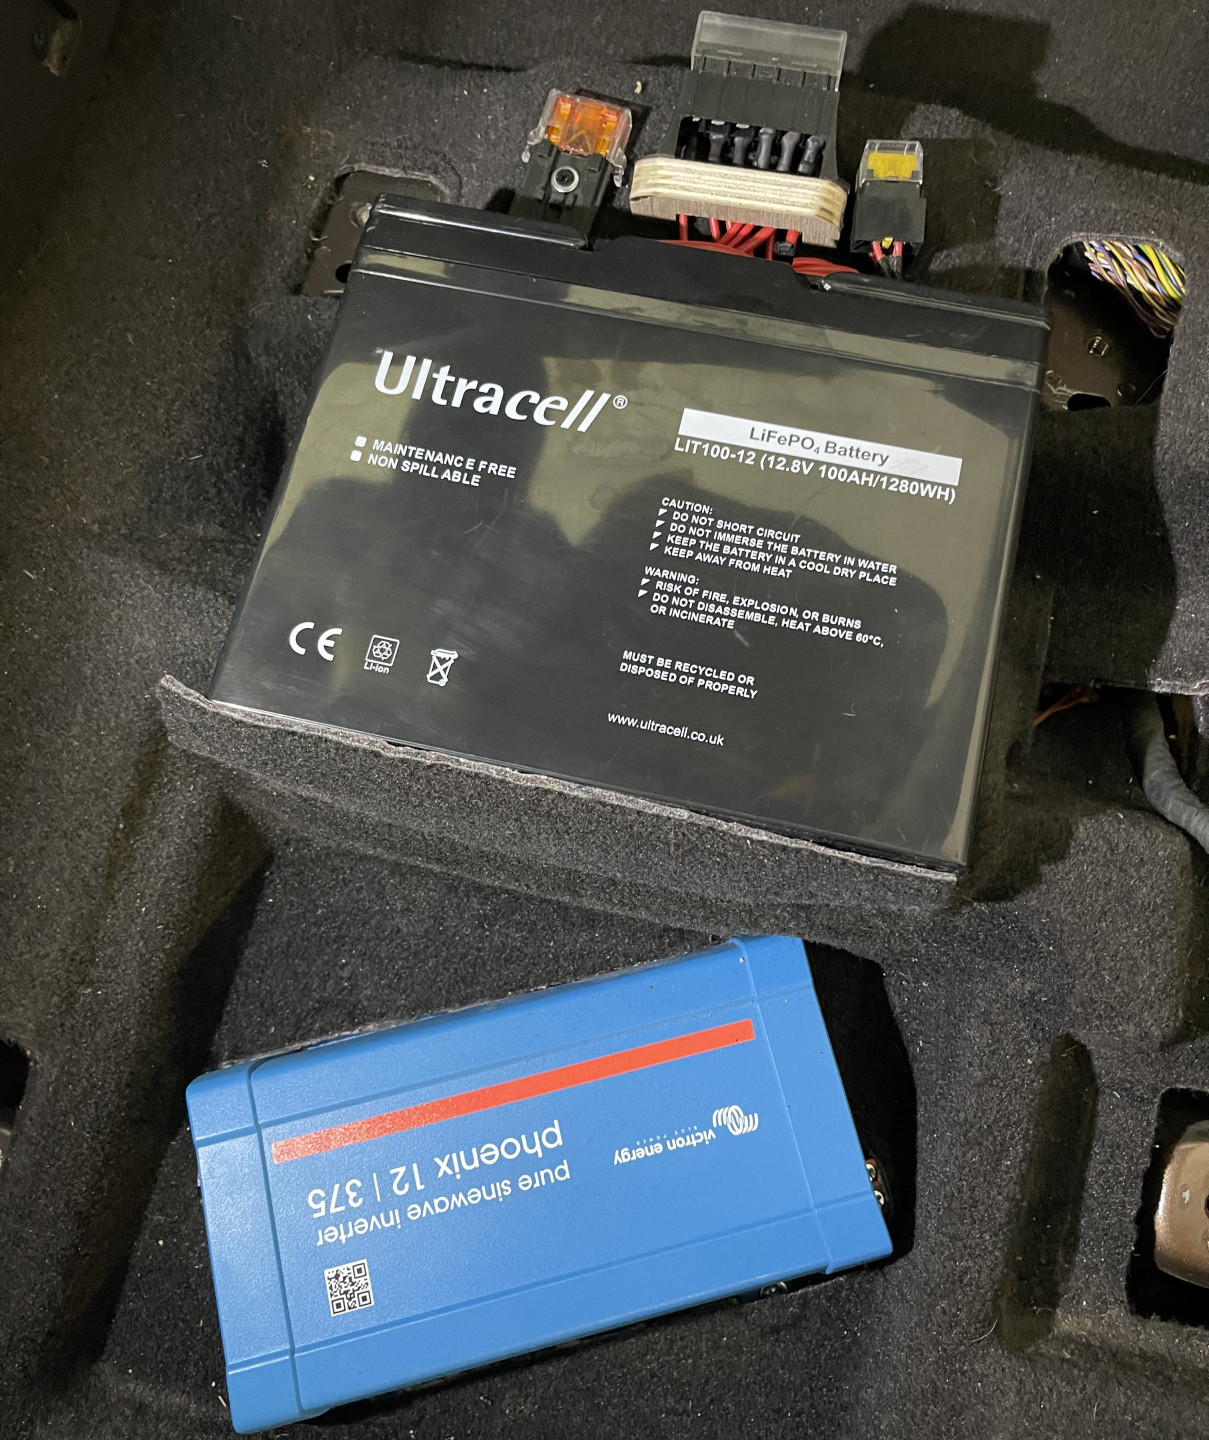
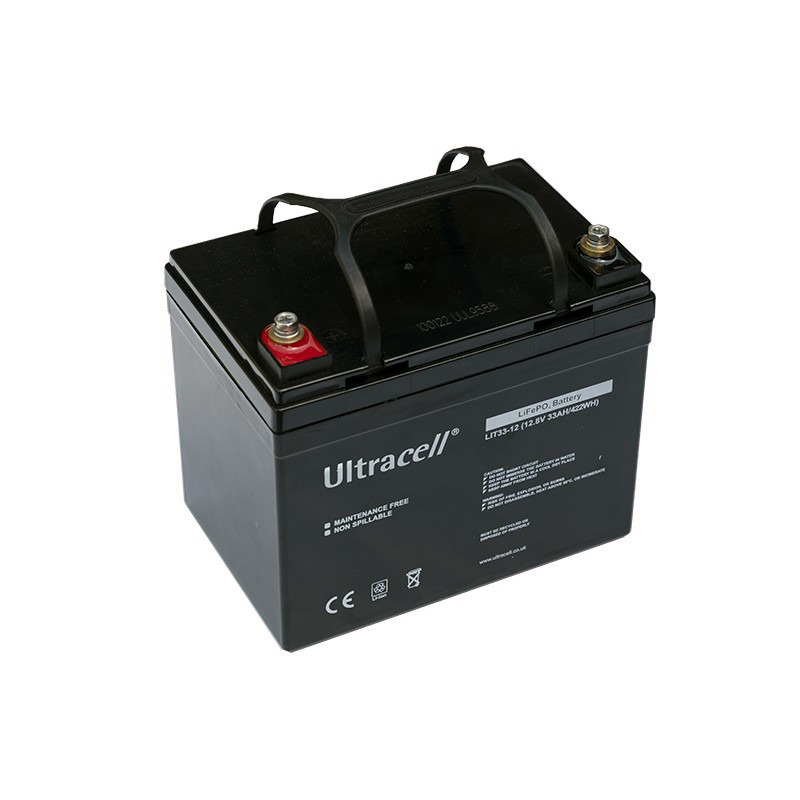
Lithium Batteries: These are a more recent technology and will soon dominate the entire camper market, as their prices are becoming more popular, displacing other options. They offer significantly higher energy density, meaning they are lighter and more compact compared to other types, providing double the energy. Additionally, they have a much longer lifespan and can handle a greater number of charge and discharge cycles without losing efficiency. Although their initial price is higher, their durability and efficiency make up for this cost in the long run.
Where to place an Auxiliary Battery?
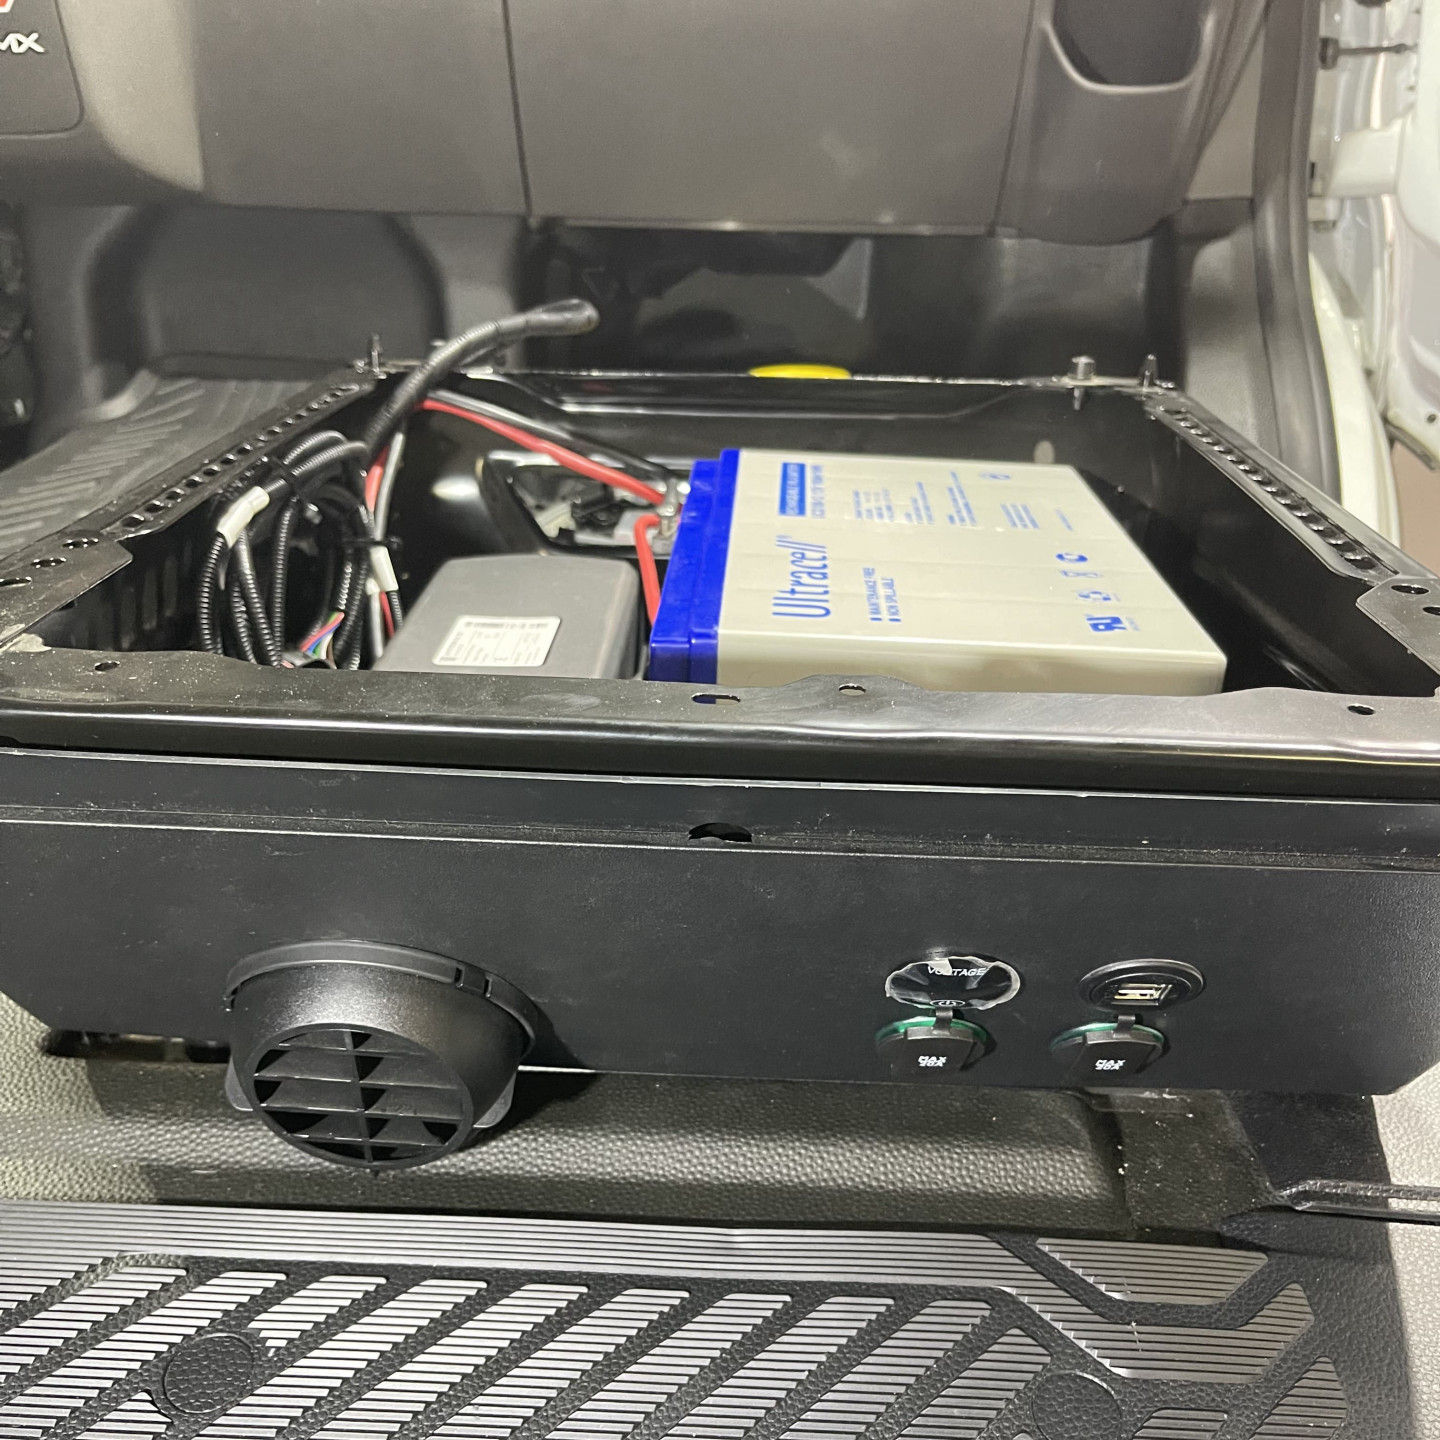
The location of the auxiliary battery in your camper is an important aspect that should not be taken lightly. We recommend installing them in an area that is not easily accessible since we only need to access them every few years for replacement. Ideally, place them under the driver's or passenger's seats, as these are less accessible spaces that can be used to store other items that need to be more readily available. This optimally utilizes the limited space in a camper, maintaining both the aesthetics and functionality of the interior.
Do you need to certify the Auxiliary Battery?
Regarding legality and regulations, this will depend on each country. If you consult with your installer, they can likely provide guidance or even documentation if the auxiliary battery needs certification, as is the case in Spain and Andorra. If you decide to proceed with the installation with us, we will inform you and provide a quote without any problem or commitment.
How to install the Auxiliary Battery?
The installation of the auxiliary battery may vary depending on the battery type and the specific model of your vehicle. For safety reasons, we recommend having the installation done by a professional or someone with knowledge of direct current. While a basic installation is not very complex, it is crucial to calculate the cable section and fuse size accurately. Incorrect installation can lead to vehicle component failures, electronic issues, or even a rapid onset of fire.
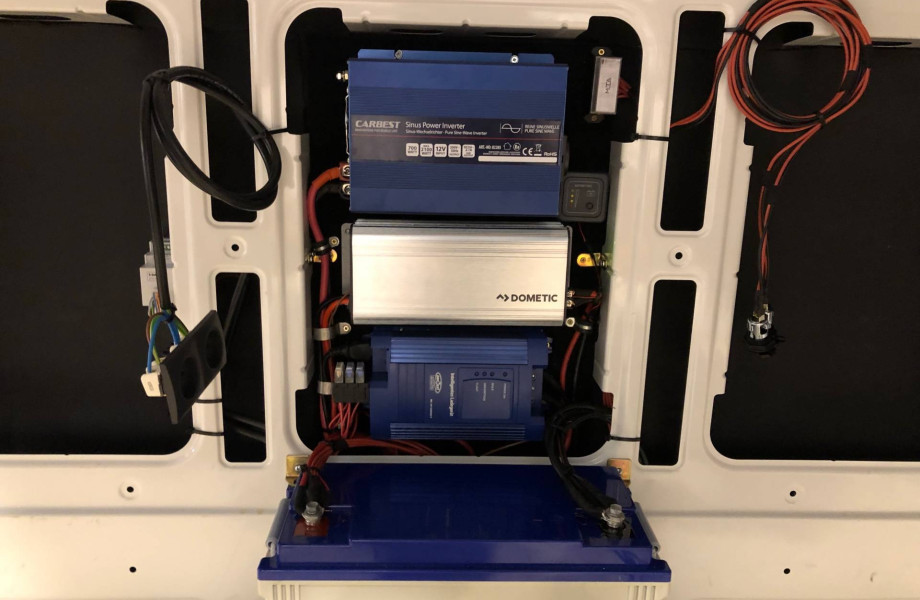
In summary, the foundation of the electrical circuit involves connecting the engine battery to the auxiliary battery through appropriately sized wiring. This is done with a relay separator or booster that will charge the auxiliary battery while driving and disconnect it while parked to prevent discharging the engine battery. From here, all consumables should be connected solely to the auxiliary battery, choosing the right wiring and protections for each device.
Other charging options include connecting to an external power source or installing solar panels, with the latter being an ecological and efficient choice, especially for those who spend extended periods parked in one location. It is crucial never to leave the battery discharged for days to ensure its longevity and efficiency. Therefore, having a consistent charge from the engine is essential, guaranteeing the ability to charge even on non-sunny days.
For those who dare to do the electrical installation of their van and have knowledge of direct current, we have complete kits of auxiliary batteries of lithium, gel, or AGM so that you can assemble it yourself.
Do You Want to Install an Auxiliary Battery in Your Camper Van?
Our team of experts will advise you or, if you prefer not to install it yourself, we'll take care of the installation for you!

